After calling FFMetal and told that they don't do the forward firewall anymore, I was a little bummed. But afther getting advice from Gordon Levy on how to do a forward Firewall, I was ready to go.
I found a 3.5 x 2.5" x 34" long aluminum angle that is 1/4" thick. It will allow me to put the firewall forward by 2.5" to get some extra room behind the dash. I plan to put a heater onto the firewall.
So first I need to find where to knotch the angle so that it can get around the post. I want the angle to overlap the steel 2x2 by at least one inch to have a good foundation.

I cut off about 3/4" into the angle to make the room. to not interfere with the the dashboard hoop support bar. I'm loving my new skil saw. Using 18 teeth per inch blades make the cutting easy. Be sure to use some cutting oil to help the blade with the aluminum. If it gets too hot, the aluminum gets stuck in the teeth of the blade, and you don't cut.

I made notes on the DS foot box of the changes that will need to be made if I move the firewall forward. Because I'll be moving the firewall forward 2.5", that is how much I need to take off of this driverside footbox panel.

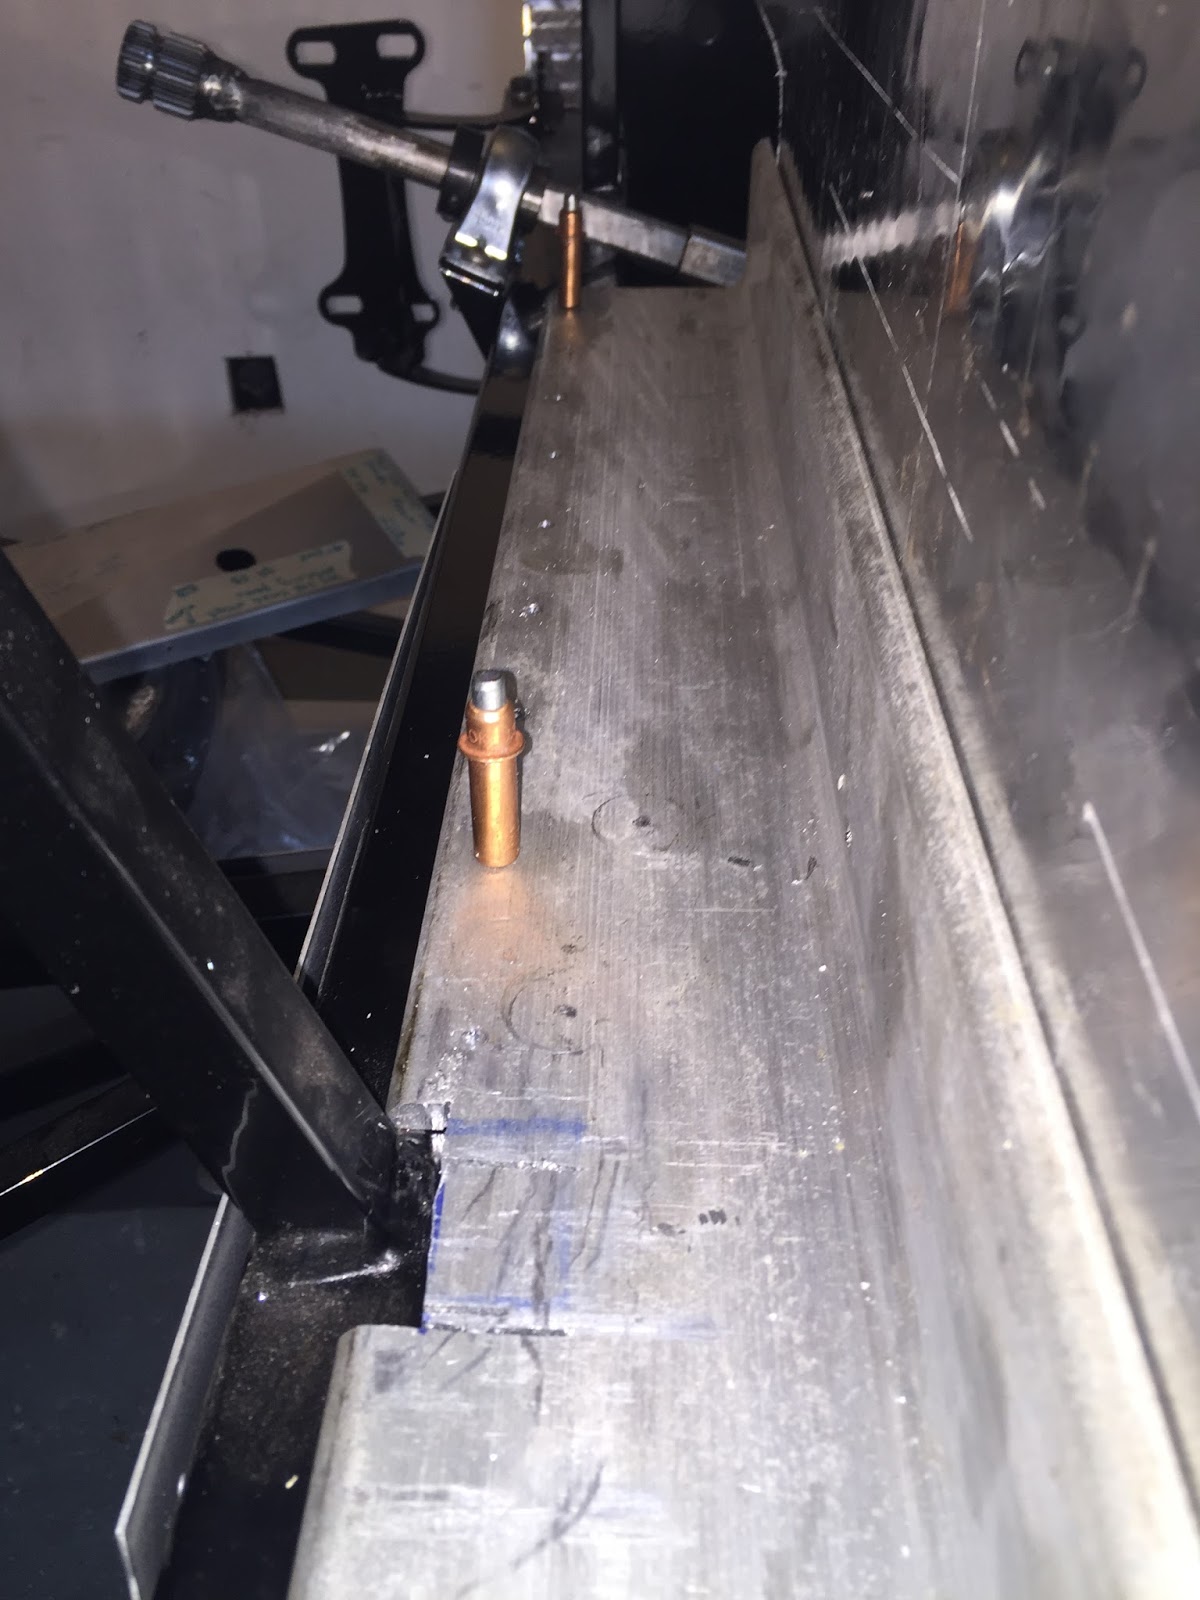
Here I had to grind down a weld bead so that the angle would fit in the corner flush. I repainted before going further.

Now it's time to mock up the angle and the firewall. I think this is going to be very helpful with the build.

This time I cut the diamond plate the way that I wanted. Pattern facing toward the engine bay. I plan to mount the wiper motor and the brake reservoirs to the exposed side of the firewall. I'll try to keep the heater components inside the firewall for a cleaner look.

Laying down a generous bead of sealant, I used some 3/16" rivets to hold the angle down onto the 2x2 steel tube.

Even though this is on a steel member, I spaced the rivets 2" c/c to get a maximum hold.


I'm pleased with the results.
No comments:
Post a Comment