Complete Build Journal

10/26/2016

More Hood and Body Work (Trim for Rectangle Tail Lamps)

More body work as I do a couple of passes of filler in the hood scoop. I'm trying to put a thin coat on and round out the edges of the scoop to where it meets the hood. I realize when doing these things, that there is a "what I think is right" and a "how it should be" way to a lot of these items. And I'm not sure where I fall.

I'm glad to be doing the body work, and it has been a great experience so far.


2nd pass:


I've also trimmed out the body for the rectangle tail lamps.


I'm going to need to add fiberglass to get my mounting hole.


If you do these 2 bulb rectangle light boxes, don't make one 3.5" long as I did. The nut that holds the light to the box interferes with the box. Maybe 3.25" or even 3" with larger flanges would be better. (gold nut on the side)

I'm going to need to make extensions or get longer bolts to get past that wall. Otherwise, it's going to be a tricky one to change out a bulb.


Speaking of bulbs, I purchased some LED's to fit in my 1157 socket. I'll try these out soon.

I realize I just told you not to make your box 3.5" long.  But as I look at this photo below, I realize that I wouldn't have been able to fit these LEDs in if I made mine smaller.


10/25/2016

Hood

Yesterday, I started on the hood.

 I'll be lining up the scoop first, and hoping that it gets the rest of the hood in line with where it should be. I've heard that it's sometimes been an alignment issue, but I'm going to cross my fingers.


 I'll be trying to get a 3/16"ish even gap around the hood. right now, the hood is larger than the opening, so a little trimming will be needed to get it in the hole.  This is a stir stick in the gap.


I put 5/16" weather stripping on the body to lift the hood in plane with the body.


When flipping the hood upside down to smooth the scoop with body filler:


The first question I had was about the "adhesive" that bonded the scoop to the hood.

 I now suspect that it is a resin to bond the two together. I sanded down the extra with 40 grit, and tried to bring the edges together under the scoop.


I then softened up the grit to 80 grit and got the hard to reach places. Today, I'll put some filler in there to eliminate the fiberglass pattern.


I'll also be doing a little extension inside the scoop, so I sanded the gelcoat down to the fiberglass to be able to bond on my extension.


10/23/2016

Starting a competition dash

This weekend I brought home some aluminum from work that was going to be thrown out.  It is some 0.043 with a nice brushed look on one side.

My first attempt at putting gauges in place went okay, but the aluminum was too thick to bend at the corners.   I also broke off part of the material when putting the 90degree bend in the material.  So I wanted to try again.


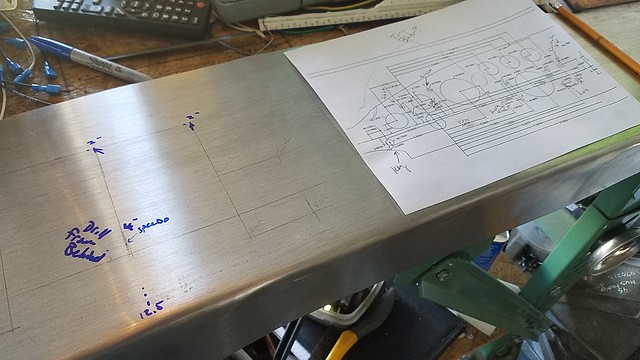
I took a 15" x 72" piece and traced the outline of the dash profile that came from Factory Five onto this sheet.  

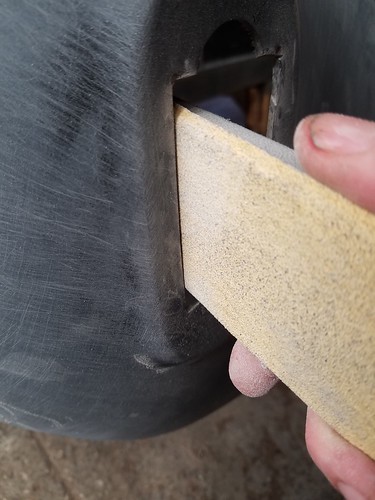
I then cut out the profile with aluminum snips and sanded the edges with 100 grit.  This took away the sharp edges.

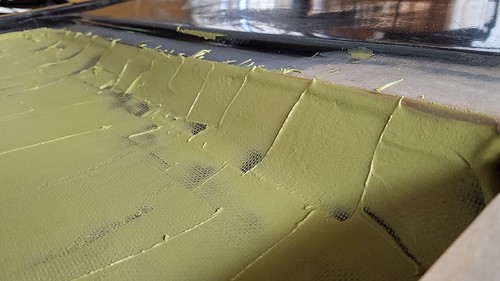
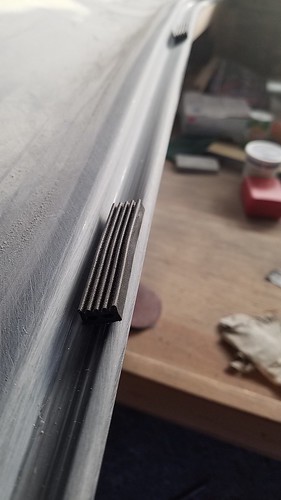
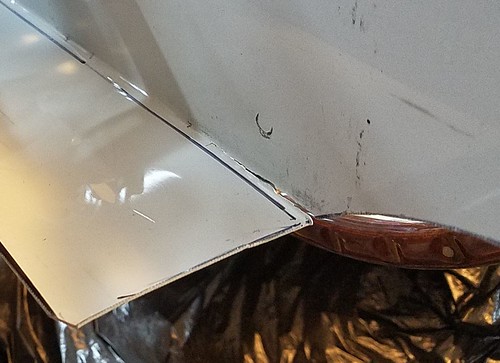
When putting the 90 degree bend in the material, I tried to keep a soft bend so that the aluminum won't crack.  It worked by putting it over the edge of my workbench plywood and hitting it into shape with a rubber mallet.   Unfortunately, I did get some cracking at the edges.  That can be patched with some JB Weld.


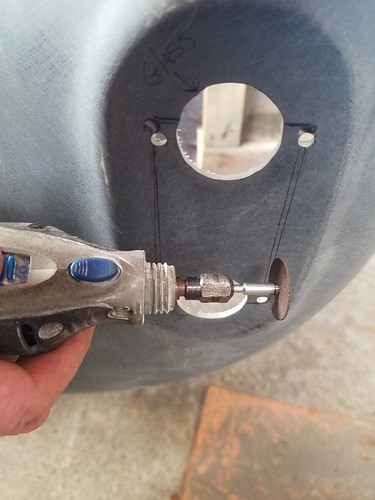
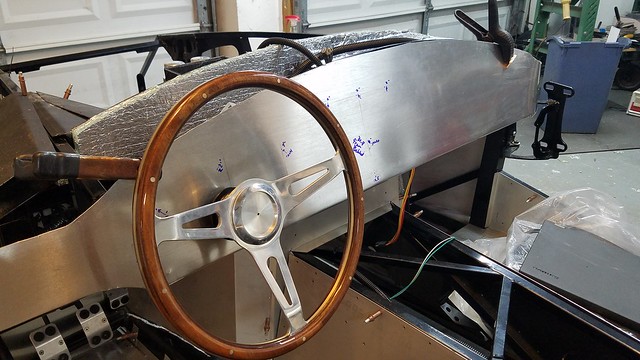
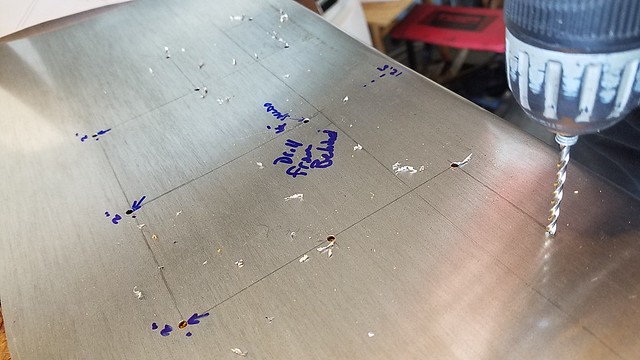
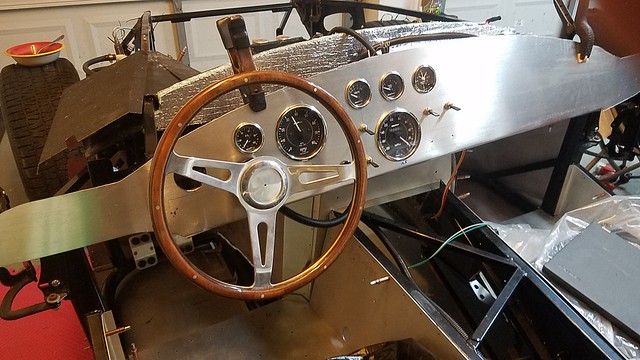
The only hole I traced and transferred from the template to this piece was the steering wheel hole.   When cutting it out, I used a hole saw that seemed to come out too big. Because it's an oval, there are two drill pilot holes.  Because my first hole came out to big, it interfered with the pilot hole on the second half of the oval.  Therefore, I've got cut marks showing where I don't want them.   I learned to do the hole saw cutting from the back, so if there are mistakes it doesn't show up as easily.


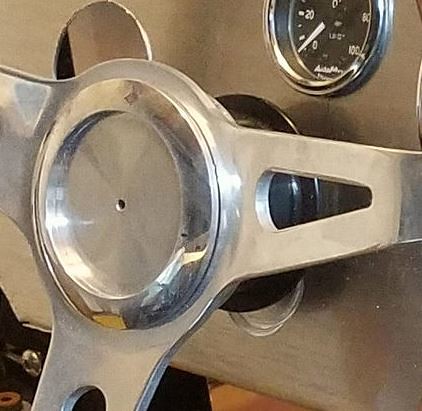
I'm going to try to stay with the brushed aluminum look.  I like it with the black faced gauges.

First, I marked the hole locations with a center punch
Next I used my #30 drill bit for pilot holes
Then, I broke out the Hole Saw Kit
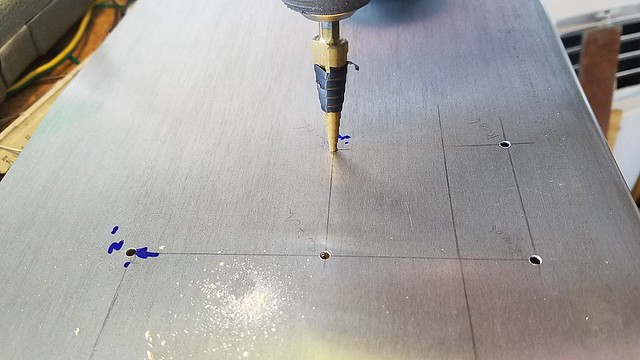
4" hole saw was used for the speedo and tach.  
2" hole saw was used for the 2" gauges
step drill up to 1/2" was used for switches
3/4" hole saw then I sanded it out to make it larger with a dremel to fit the horn button.

Those step drill bits were perfect for this application!  http://amzn.to/2eBE6RM


All in all, I think it looks great!