I've been looking at these 3 Link parts in their box for a long time. I'm glad that I'm finally at a point where I can start the install of the components. To start, I put the correct fasteners into the Banana bracket. There is one on the inside of the bracket that I'm unable to reach. I may need to figure out something for that to be torqued. I also put the fastener in the bracket support arm that bolts to the pumpkin flange. Because these items have already been welded in place, and run through with an end mill yesterday, the install was easy.
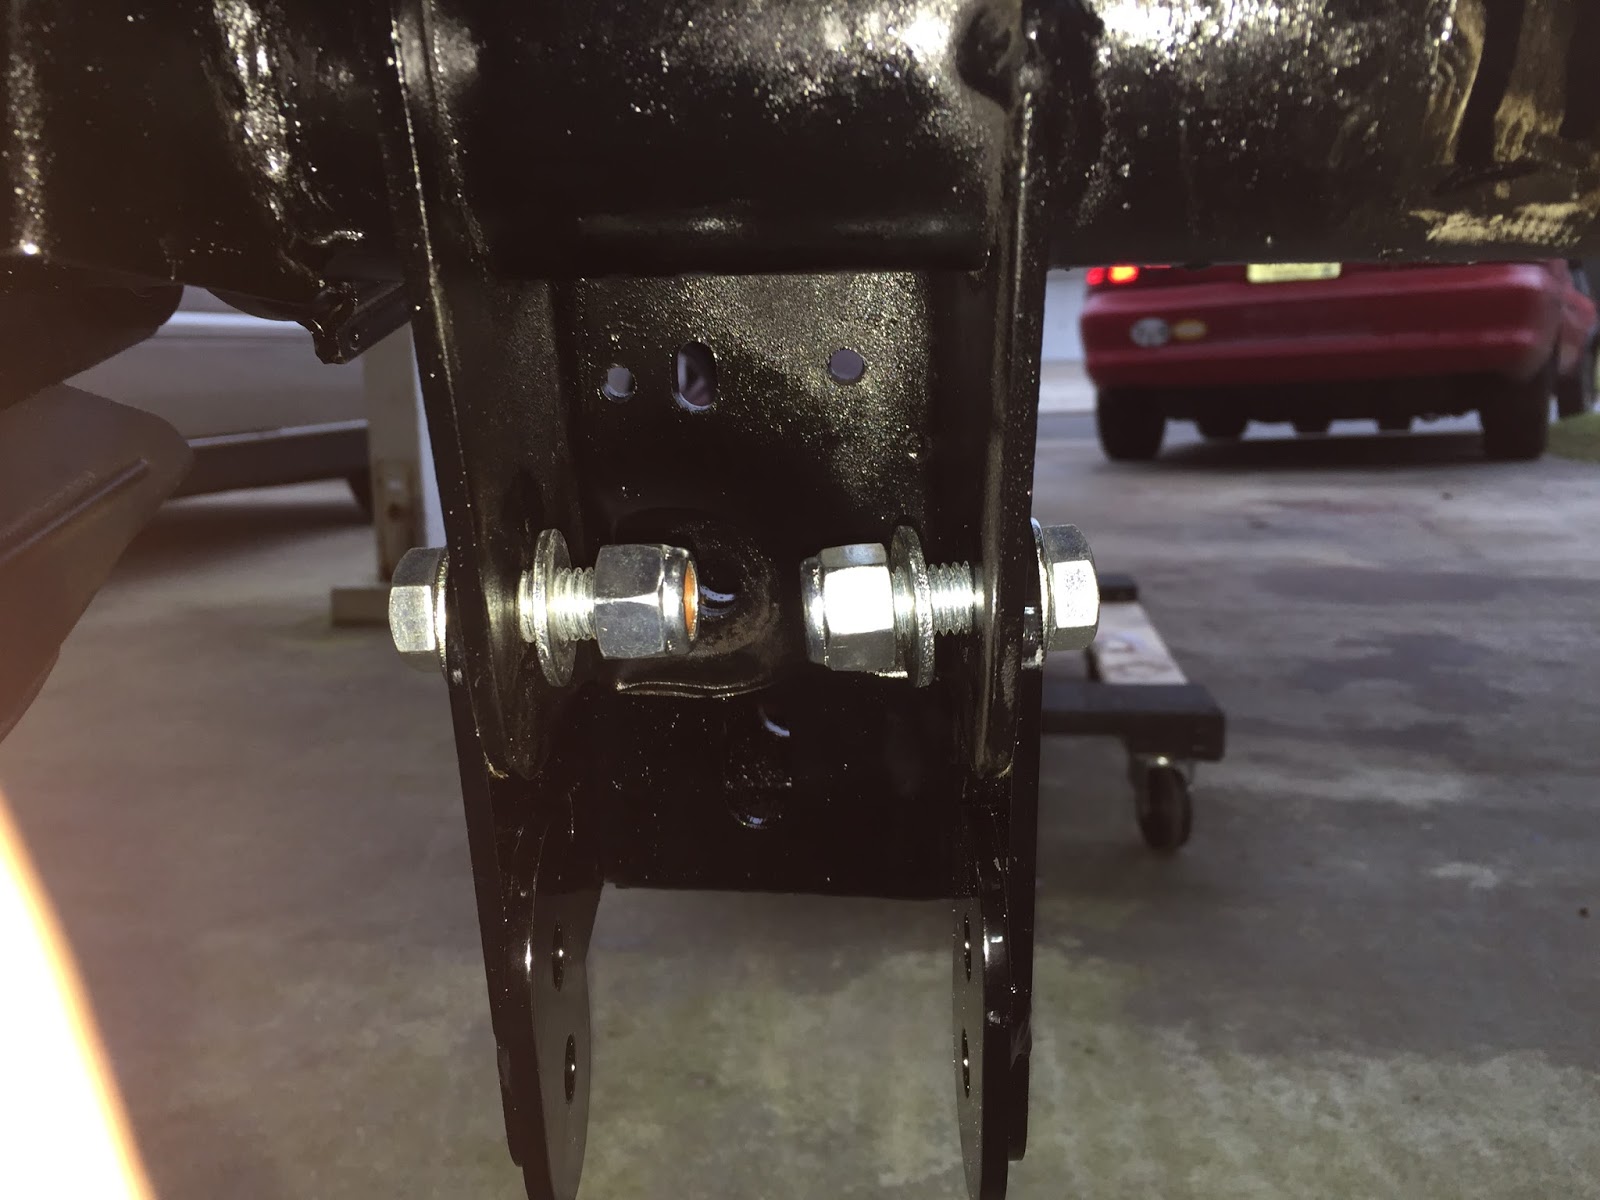
Then the rod ends were installed into the swedged tubes. One is left hand thread, the other is right. I put anti seize on the threads (per Factory Five install video). The short one is the upper link, and that is the one that I installed onto the rear end.

It takes a couple of spacers on each side of the upper link. This took a little hammering in, but they went in. The bolt seems a little long to me.

I had a little problem fitting the quad shock brackets over the oem brackets on the axle. Once I fit just an edge over the bracket, I just hammered it into place with a soft headed hammer. Install the short bolts on each side, and the long shock bolt on the rear (just for alignment when tightening the short ones).

Now things are tightened, but not torqued yet.

I went ahead and mounted the lower control arms onto the frame. I don't want to mount the rear end until the bearings are swapped, and the rear is filled with fluid. But I'm trying to get as much in place as possible to be ready.

Grease fittings are facing the floor, and there is a washer on each side of the mounting flange. Not tightened yet.

Also hung the rear shocks on their mounts. A spacer is placed on each side of the shock. I wanted to mock this up now, so when the install time came I wasn't met with any surprises.

This is how I left each side. Ready for the rear end to be installed.

Next: Replacing Axle Bearings and Seals