I was going to head on down to the Ocala, FL car show today. I got up at 5:45am, took a shower and was going to be out the door by 6:15am for the 4 hour drive. But while I was in the shower, I was thinking about what I was able to get done last night, and I wanted to continue. This was a wide open Saturday and I really had more interest in continuing with the build. So I stayed, and went down into the garage.
Here is the to do list that I made for myself :

It's a little chilly this morning (well, it is January), and the smell of gear oil is not a good smell. So I'll be doing this outside the garage.

Drained the rear end.


Then I rotated the axle ends until the differential pinion shaft lock pin shows up. I found that this needs to be removed with an open end wrench because there wasn't enough room to remove the socket when taking the pin out.

Now remove the pin itself.

This will allow you to be able to push in the axles so that you can remove the U-washer. I wasn't sure what I was really doing, and I rotated the axle to see the pin. Next thing I heard was the pin dropping into the depths of the differential. On the other side, I didn't rotate the axle, I just pushed in and removed the U washer.

Reomoving the axles, you can see where the bearing rides the axle. It's the clean machine mark on the the right.


Now take out the S shaped spring. I removed this with some vice grips to get good traction on the spring.

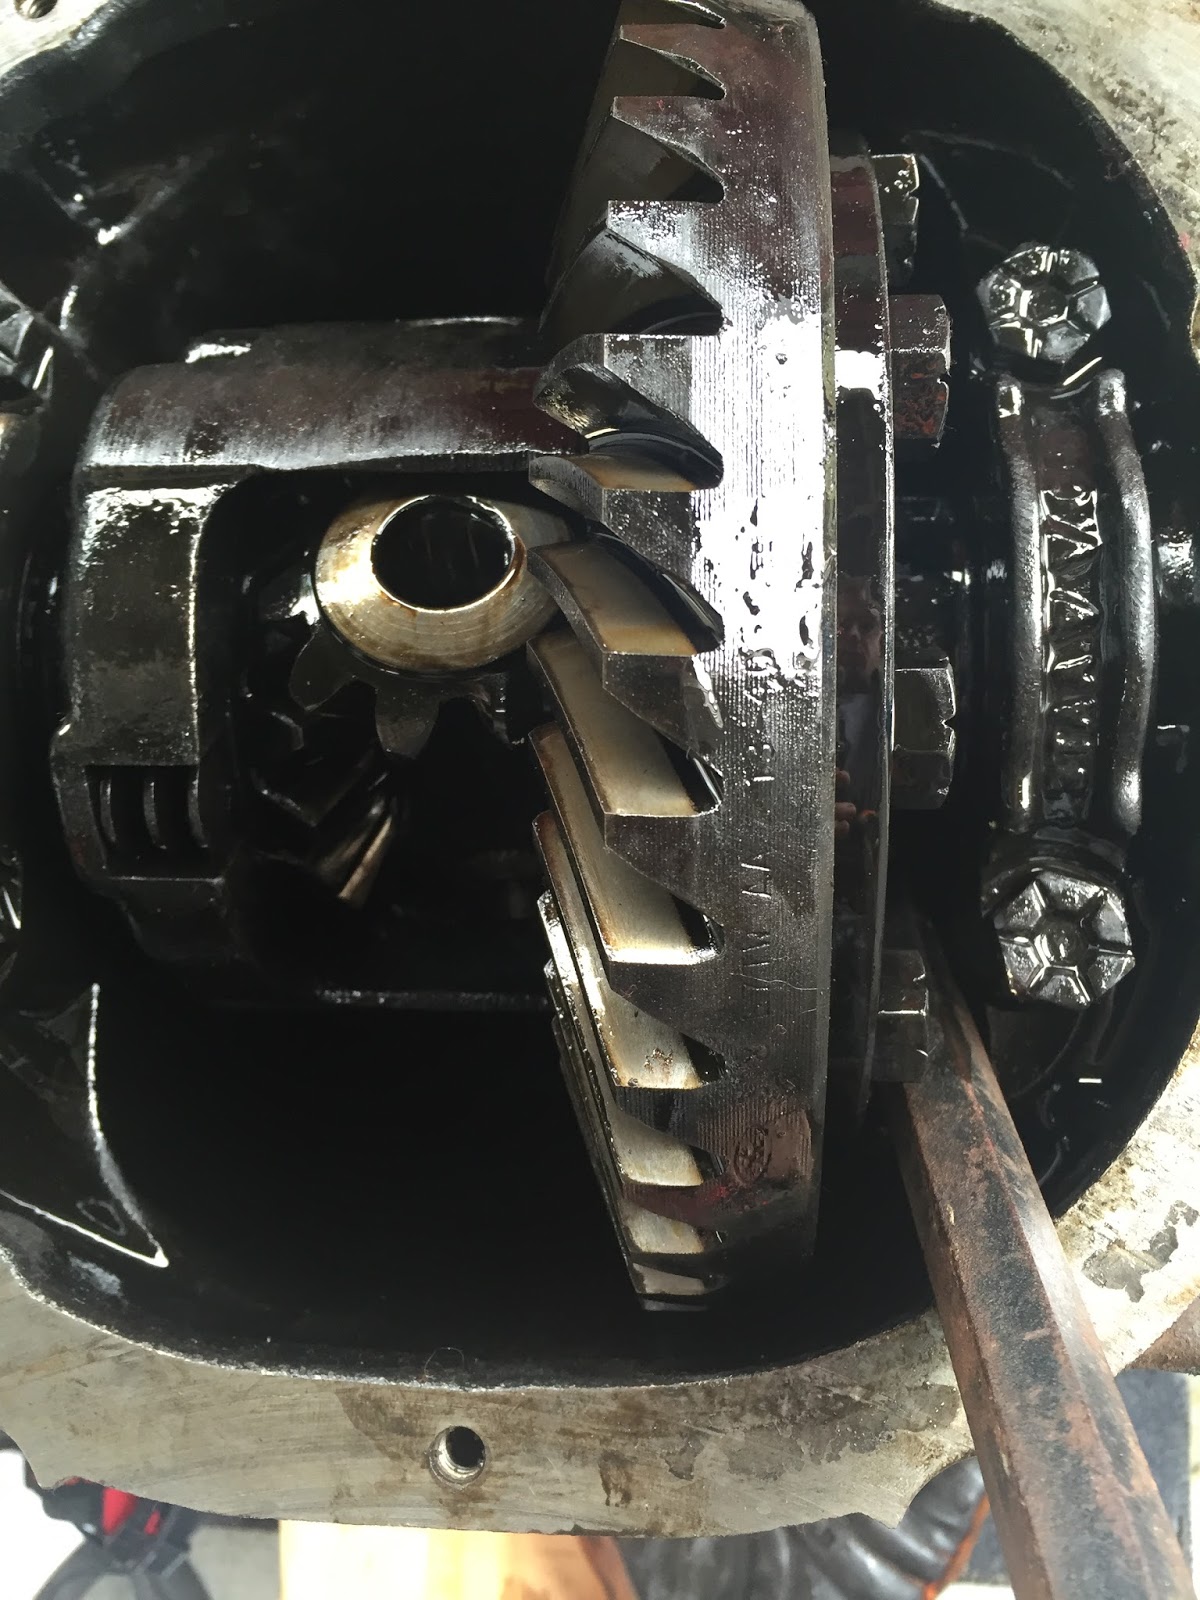
Once that was out, I was stumped. How do I get the spider gears out? They are the two gears that are located at the 12 and 6 oclock position (3 and 9 oclock in the video). looking at a few youtube videos showed these guys just quickly removing the gears. But they wouldn't move for me. Finally I ran across a note that you rotate the axle, and the motion will move the gears into the removal location.
Watch this little video I made
Notice the crow bar in the right of the photo. I used that to hold the big gear in place as I rotated the axle end. Now I can reach the spider gears, and removal was easy. You need to make sure that you keep the washer that is on the back of the gear. Also, the gear that you see on the top is easy to remove, but you need to reach your hand down in the diff case to get the other one. It's not hard at all. I just found that you can't rotate it up to the top.
Now that those are out, just reach inside and get the gears with the traction lok plates. Be sure to keep them on the same side as removal. The shims may be different thicknesses.
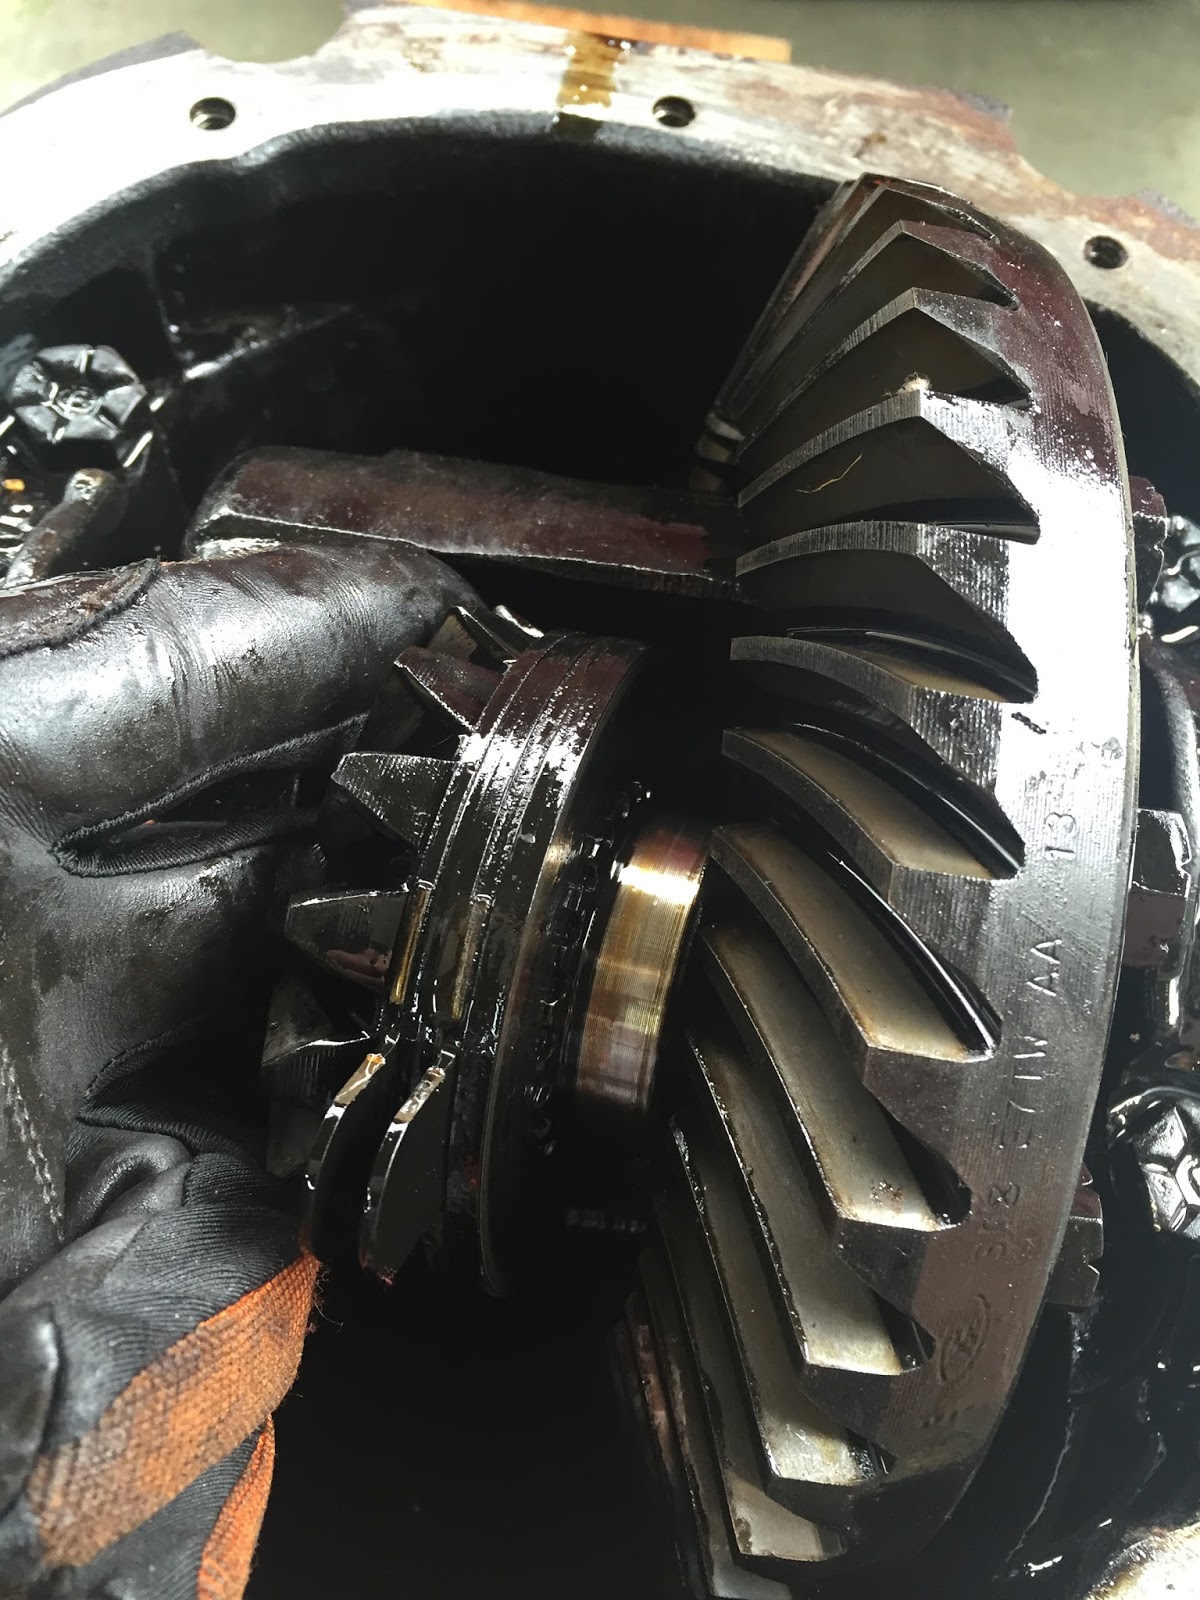
Also, after removal, I did notice that one of the clutch plates was still inside the diff case. I used a flat head to make sure that all of the items were out. On one side I still had the shim plate, and on the other, I still had a clutch plate and shim plate still inside. If the last thing you remove is the thin shim, then you got it all.

Below is the kit. It came with one bottle of Modifier, 6 clutch plates, 8 steel plates, a new lock pin, and 6 steel shims.

this is a close up of the clutch plates. ( I think that term is correct)

You're to soak the clutch plates in modifier before install. WOW, that is a strong smell. I thought the gear lube was bad, but this is really bad too.

Over view shot of work so far. Notice that I have the gears on their respective sides of removal. It doesn't matter about the spider gears. Just the gears that have the traction lok plates.

Here is the order of the disks that I removed. I am going to put in the identical set up. There are plenty of people to tell you to do a different arrangement. But for me, I just want to match OEM. So, from the top of the photo working down: steel shim, clutch plate, steel plate, steel plate, clutch plate, steel plate, steel plate, clutch plate, gear.


I used the dremel to clean off the old gasket material off of the differential. Just use it lighly.

Here is my new differential cover. I wasn't really interested in the chrome, but it was inexpensive, and I thought I'd try it. It's only a cover. It came with a gasket and 10 new bolts.

Also used the dremel to clean off the driveshaft mounting plate.


Now would be a good time to use the POR-15 to spray on the rear end. Items are removed, and it's easy to get around the rear end.


It looks a lot better.

I have some pitting on one of my axles. This may be an indication that I need to change out a bearing in the rear.
Some of the guys on the forum recommended an Axle saving bearing. Because the axle itself acts as the inner race of the bearing, you can move the bearing to a different location on the axle and contact a new surface area. It's about $35 for each end.

Now to stack the new plates on the gear. The RH side of the rear end has a 0.035" shim.

The LH side of the rear end has a 0.040" shim.

The steel plates are 0.080". This matches the ones I took out.

The clutch plates are about 0.097". This also matches the ones I took out.

New plates are stacked up, and ready for install. All of them have been covered with plenty of lube before install.

Install complete. Just need to install the S spring and then the pin. I learned a couple of things on the reinstall. One, that S spring is a bear to get back in. I finally got one corner inside, then used a hammer to beat it in the rest of the way. But then I couldn't get the pin to install because I didn't line up the spider gears with the casing correctly. I had to remove the S-spring so that I could rotate the spider gears into the proper location. Then, I had to reinstall the S spring again. This time, I had hammered it in too far, and the pin was hitting the spring. After some monkeying around, I got it installed.
I didn't install the U washer or pin bolt yet, because I am going to replace the axle bearings. This will just save me a step when removing the axles later this week.

Next: 3 Link Start