Now it's time to get a little courageous and do a trunk mod. By Courageous, I mean that I'm going to need to cut my trunk steel supports out of the way in order to gain more room in the trunk.
This is Cobra Earl's Touring Trunk kit that I purchased from the Forum. After much research on the forum, it appears to me that the cross bracing that is in place in the trunk is a crumple zone steel support. My concern was that by removing the steel cross bracing, that I may put myself in danger by compromising the integrity of the car. But after much research, I found that by removing these steel bars, the integrity of the car has not been compromised, and neither has the safety of being hit in the rear. Many people will do the mod without removing the cross bracing. So, after my research, I've decided to go ahead with the removal.
Let me be clear. If I thought in anyway that I would be putting myself or a family member in danger by removing the steel, I would not have done it.
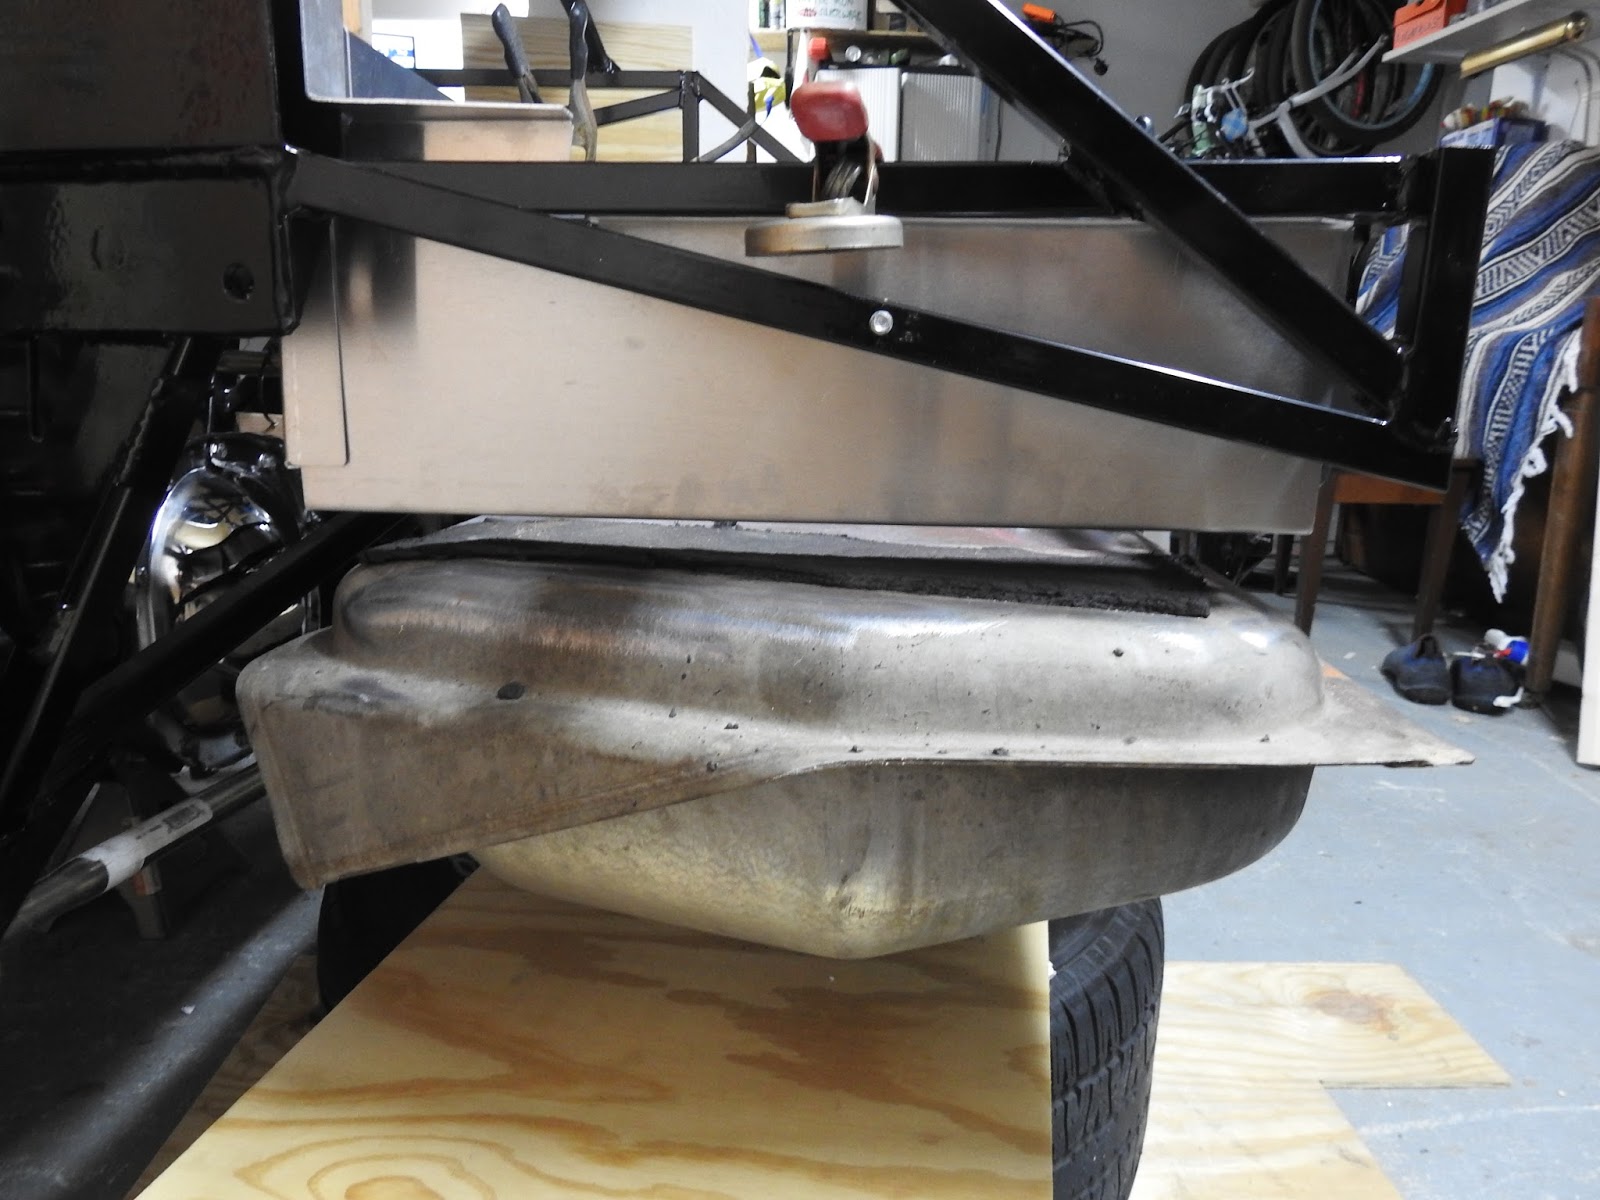
Okay, so let's move on. First, I mocked up the gas tank. I found that mounting the rear strap supports first made it easier because it gave access to the front strap supports for the tight fit part.


Once that was in place, I clamped in the panels to see where I would be cutting the steel cross bracing.


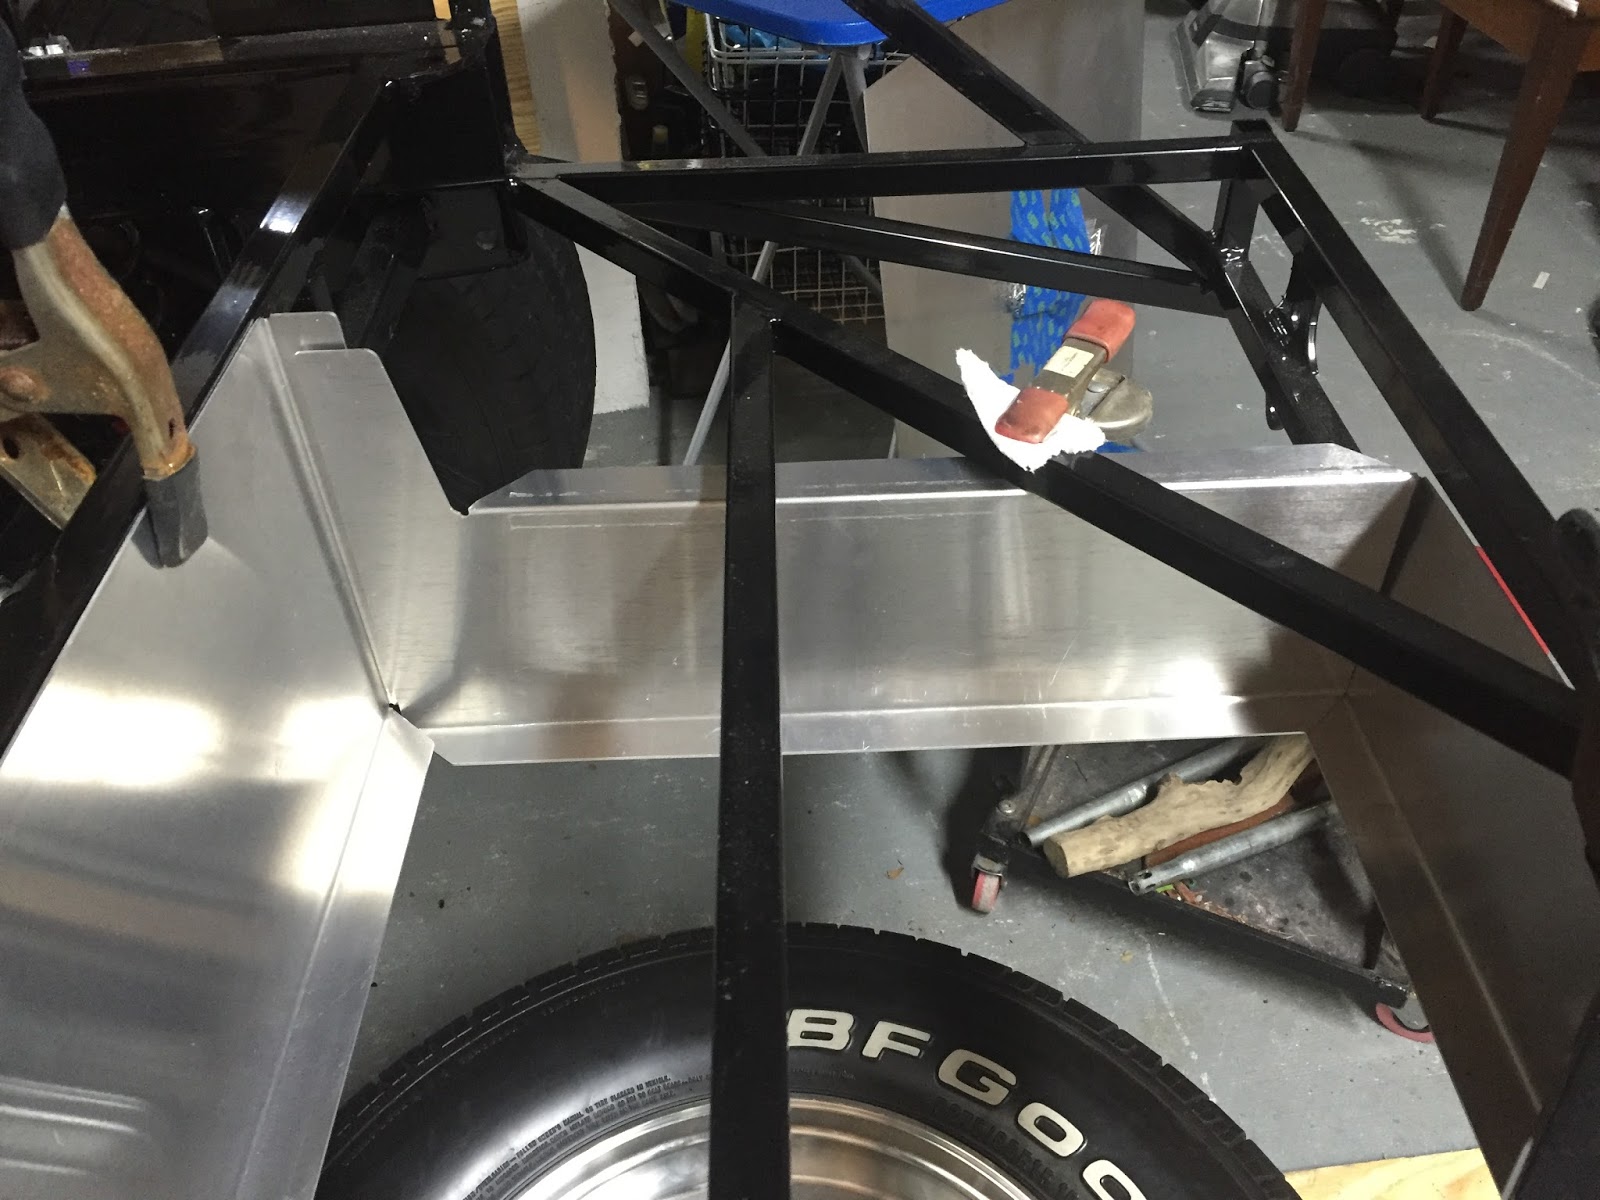


To cut the steel, I used an 18 teeth per inch blade on the saw. I propped the shop vac under the cutting mark to catch any shavings that may fall during the cut. Kind of overkill, but I wanted to try it. And it worked.


Uh Oh, No going back.

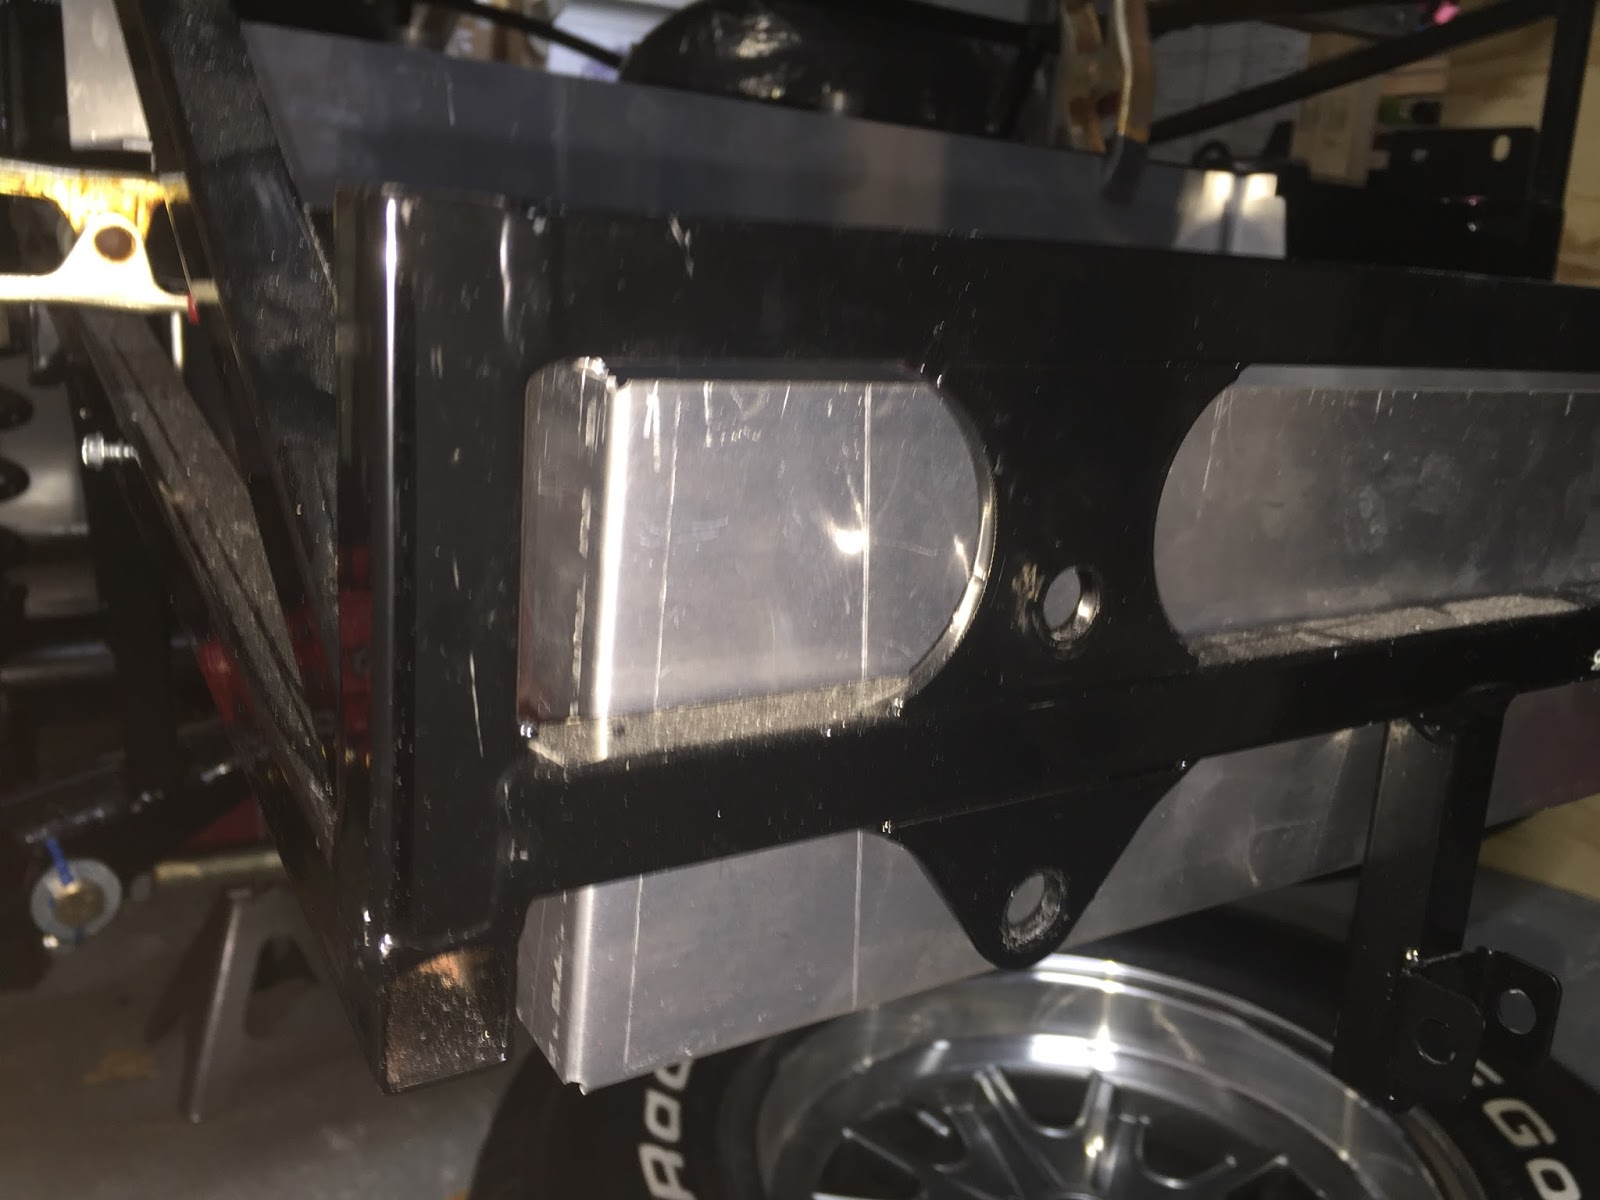
Now that the bracing is cut, I can fit in all of the panels

The panels took a little trimming and squeezing to get into place. But ultimately, they lined up and the kit is complete. This is before drilling all of the holes in the panels to get the rivet holes in place.


No comments:
Post a Comment